Getting your greens perfectly crisp and ready to eat can be tricky, especially if you’re new to using a salad spinner.
The key is to learn how to handle each step from washing to storage to keep your lettuce fresh.
With a few simple tips, you’ll be spinning your greens like a pro in no time.
Keep reading to unlock the full process and make salad prep a breeze.
Wash All Parts Before First Use
Before first use, you should wash every part of the salad spinner, including the bowl, basket, and lid, in warm, soapy water. If the lid has internal pieces, disassemble them first. Use a soft sponge to gently scrub corners and crevices, then rinse thoroughly until no soap remains. This initial wash is a full sanitation step, not just a quick rinse, to remove any manufacturing residue or dust. Make sure to dry each part completely before reassembling to prevent trapped moisture, which can affect the material’s durability over time. Hand washing is recommended for plastic components to avoid rough handling that can cause clouding or surface scratches. Establish this cleaning routine from the start—always hand wash initially even if the parts are dishwasher safe. Later, you can use a top-rack dishwasher cycle, but avoid aggressive heat and cycles that may wear down the plastic faster. Performing this thorough cleaning initially helps keep your salad spinner in optimal condition longer. Also, keep the enclosed part dry to prevent mold growth. For a deeper clean, the entire unit can be soaked in a vinegar solution to remove any lingering odors or buildup. Using a soft sponge on the crevices mirrors the gentle approach recommended for tea strainers to avoid surface damage. If the lid has a straw mechanism, clean it with a small brush to reach narrow openings and prevent residue buildup.

Nylon bristles clean thoroughly

One-Touch OXO Salad Spinner: Did you know that OXO invented the one-touch salad spinner? Its one-handed pump gives you maximum drying of lettuce with minimum effort
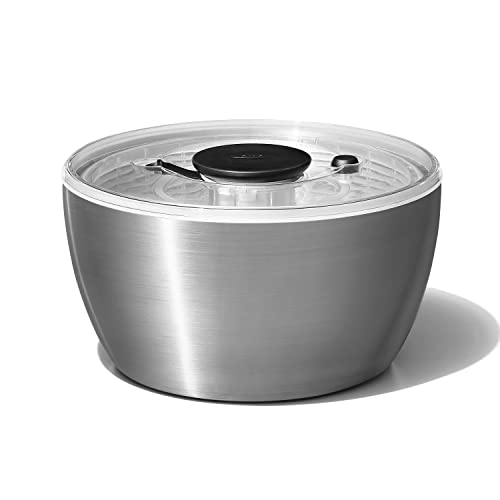
Fast, effortless drying: Spin lettuce, herbs or fruit quickly with one-handed pump operation. Dry greens fast with no cords or plugs needed.
Load Greens for Maximum Drying Performance
For optimal drying, load your salad spinner basket with about two-thirds of its capacity. This size allows greens to tumble freely, providing enough space for water to shed effectively. Arrange the leaves in a fluffy, even layer rather than pressing them down, which helps prevent water pockets and keeps the spinning stable. Similarly, avoid overfilling ice cube bags, as this common beginner mistake leads to leaks and uneven freezing.
Practice batch loading for larger quantities by splitting greens into smaller portions. Multiple short spins dry each batch faster than one lengthy cycle because more surface area is exposed to airflow. Pause briefly between spins if necessary, especially with delicate greens and herbs, to prevent damage and ensure thorough water removal. A well-designed spinner offers better performance due to its balanced mechanics, as noted in comparisons of top kitchen tools.
Avoid crushing or tightly stacking leaves, as trapped moisture reduces drying efficiency. Instead, keep greens whole or lightly torn to facilitate water release. Carefully distribute the greens to promote gentle tumbling, which results in faster, more even drying every time. For best results, choose a spinner that balances quality, performance, and value according to expert reviews.
Rinse and Assemble Your Salad Spinner
Start by rinsing all removable parts of your salad spinner with warm water. Be sure to wash the lid components separately, including the pump mechanism and lid shell, to remove any residue and bacteria. Dry each part thoroughly with a towel or let them air dry to prevent trapping moisture, which can cause mold or interfere with the spinner’s operation. When reassembling, fit the inner colander basket snugly inside the outer bowl, ensuring it is fully seated to provide a stable base and prevent shifting during use. Avoid attaching the lid until the basket and bowl are properly aligned; the lid should sit flat and be centered on the bowl. Keep all parts dry during assembly to maintain cleanliness and proper pump function. Just as a proper tumbler handle ensures a secure grip during use, a well-seated lid prevents the spinner from wobbling. Similar to a 40 oz tumbler with handle, the spinner’s lid must be firmly seated to ensure it stays secure during use. Many people find that using a cold brew can for storage helps keep their rinsed greens fresh and crisp. Once the spinner is fully assembled with no moisture remaining, you are ready for the next step in your salad preparation process.
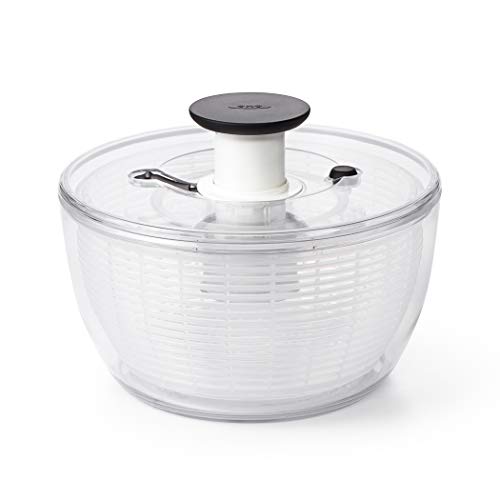
This salad spinner is to be the best that you have used.

Package Contents: You will receive two replacement silicone salad dehydrator gaskets, ensuring a tight seal for optimal performance.

FAST & CRISP SALAD SPINNER The OXO Good Grips salad spinner quickly removes water from greens, keeping lettuce fresh, crisp, and ready to eat. Non-slip base and easy pump mechanism for smooth operation.
Lock the Lid and Pump Until Crisp
Keep pumping until you see the water level drop and your greens reach your preferred crispness. The brake button will stop the spin immediately once you’re satisfied. Make sure the pump remains unlocked during spinning to allow water to escape and greens to dry properly. Only engage the storage lock after you finish to keep the device secure. This method ensures efficient spinning and crisp results every time. Cleaning the pump lock with a small brush after each use prevents sticky residue from building up and affecting the spin mechanism. For similar care, many top instruction manuals for Cuisinart ice cream makers recommend thoroughly drying all components before storage to prevent mold and ensure long-lasting performance.

Maximum Lettuce-Drying, Minimum Effort: Use the OXO Salad Spinner's one-handed pump to thoroughly dry greens, beans, even use it as a fruit washer. The salad spinners best rated always include a superior rinse, spin, and dry like ours
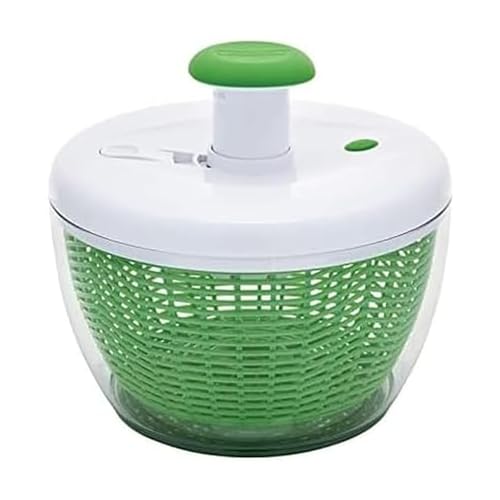
HEALTHY MADE EASY: Our Pro Pump Salad Spinner makes it so easy to prepare nutritious foods every night of the week. This device helps you to clean and serve salad greens and other produce, including fruits and even berries, in seconds!
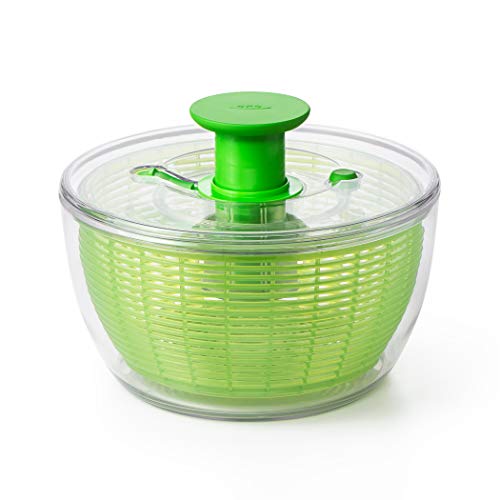
Easy one-handed operation: Spin lettuce, herbs, or fruit fast with the built-in pump—no cords or plugs.
Stop, Drain, and Store Greens for Extra Crispness
After spinning your greens, immediately lift the inner basket to drain the pooled water from the outer bowl. Repeat this process until little or no moisture remains. This step prevents re-wetting the greens and keeps them crisp. Removing excess water thoroughly ensures your greens stay flavorful and crunchy, not soggy. For best results, use the Oxo to avoid over-tightening or damaging the basket. Knowing the correct part order for reassembly helps ensure your spinner stays in good working condition.
For storage, line a container with paper towels to absorb any residual moisture. Place the greens loosely inside, avoiding packing them tightly to prevent crushing. Add another layer of paper towels on top before sealing with a tight lid. This setup promotes airflow and limits trapped moisture, which helps maintain crispness. Similarly, using a reusable cup with lid and straw can keep your beverages fresh and prevent spills while on the go.
Refrigerate the container promptly in the crisper drawer. Your salad spinner can serve as temporary storage if needed, but a paper-towel-lined container works better for longer freshness. Make it a habit to inspect the greens regularly and discard any leaves that remain wet. These careful steps lock in the greens’ extra crispness and keep them fresh longer.