Cleaning your OXO salad spinner might seem tricky, but with the right steps, it becomes quick and hassle-free. In just a few simple moves, you can keep your spinner fresh and functioning like new.
Proper cleaning not only maintains its appearance but also ensures your salads taste their best.
Keep reading for all the details to keep your spinner spotless and in top shape.
Why Disassembling Your OXO Salad Spinner Helps
Disassembling your OXO salad spinner allows you to access areas where residue often builds up, such as the lid mechanism, basket edges, and drive system. Crumbs, plant matter, and moisture can hide in every seam and crevice, making regular cleaning difficult without taking the device apart. By carefully disassembling, you prevent damage from harsh scrubbing that could warp plastics and compromise the spinner’s integrity. For similar thorough results, consider how a top-rated orange juicer is designed for easy disassembly and cleaning of its pulp and juice channels.
Regular maintenance ensures you remove oils, dirt, and organic residues before they develop into odors or mold. Removing the lid gives you a clear view of the drive gears, so you can check for grit or debris that increase friction and slow down the spinning action. To prevent similar sticking issues, follow a simple troubleshooting order when reassembling the lid components. Separating the parts also allows for faster, more thorough drying, reducing moisture pockets that could foster mold growth. This detailed cleaning process extends the lifespan of your spinner by keeping the pull-cord, seals, and mechanisms functioning smoothly without forcing early replacement. For the best results, you can research top protein shaker designs to see how similar maintenance principles apply to other kitchen tools.

Nylon bristles clean thoroughly

One-Touch OXO Salad Spinner: Did you know that OXO invented the one-touch salad spinner? Its one-handed pump gives you maximum drying of lettuce with minimum effort
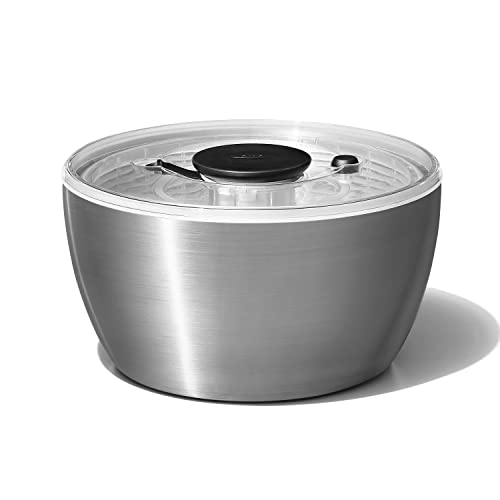
Fast, effortless drying: Spin lettuce, herbs or fruit quickly with one-handed pump operation. Dry greens fast with no cords or plugs needed.
How to Rinse Loose Debris Before You Scrub
Start with a quick rinse to remove loose debris before scrubbing. Hold each part of your disassembled salad spinner under warm running water, allowing the water to flow through the basket holes to flush out lettuce fragments. Focus on the lid mechanism and the basket’s bottom curve, as these areas often trap bits. Be careful to move slowly and rotate the basket, ensuring you wash debris outward rather than pushing it into crevices. Rinsing too fast or skipping the underside of the lid is a common mistake that can push debris into hard-to-reach spots. Doing this gentle, thorough rinse first makes the subsequent scrubbing easier and helps prevent grinding loose matter into tight corners. Once no large particles remain, you’re ready to move on to the next cleaning step. After rinsing, check the metal twisted drive piece for any loose debris to facilitate smooth motion. For a similar approach to quality and value in kitchen tools, ensure all parts are fully dry before reassembly to prevent mold. This method works best when you apply gentle hand pressure to the basket walls, just as you would when using effortless hand-squeezing techniques for a lemon without a juicer. Rinsing thoroughly matches the durable performance customers expect from premium hydration gear.
The Right Way to Hand-Wash Basket and Bowl
Disassembling your spinner with two components—the bowl and the inner basket—allows for thorough cleaning of each part. Fill your sink with warm, soapy water using a grease-cutting dish soap to break down oils from salad dressings. Gently scrub the bowl and basket with a soft sponge, avoiding abrasive pads that can scratch plastic surfaces. Focus on the basket’s holes, where food particles often get trapped; use a soft-bristle brush to loosen stubborn bits. For a deeper clean, you can also remove the basket and pump mechanism by following the safe disassembly order. Rinse both parts under running water until all soap residue is gone. Dry each piece completely on a rack, ensuring no moisture remains inside the basket holes, which helps prevent mold and odors. To coordinate your kitchen look, match the bowl to your existing color palette. When storing, nest the dry basket inside the bowl before reassembling the lid for compact and tidy storage. The spinner is dishwasher safe for an even easier clean. For lids with a similar design, you can use a soft-bristle brush to dislodge residue from crevices just as effectively. For tough, dried-on residue, soaking the basket in a warm vinegar solution can help loosen grime without harsh scrubbing.

Maximum Lettuce-Drying, Minimum Effort: Use the OXO Salad Spinner's one-handed pump to thoroughly dry greens, beans, even use it as a fruit washer. The salad spinners best rated always include a superior rinse, spin, and dry like ours

QUICK & CONVENIENT: Wash and spin-dry salad greens, fruits, and vegetables effortlessly with the Cuisinart 3qt Salad Spinner.

HANDS-FREE FRUIT WASHING SOLUTION: Fruit washer spinner is an innovative kitchen gadget that allows hands-free fruit cleaning. Simply turn the crank to create a spinning wash motion that helps clean fruits more evenly and efficiently.
How to Clean the Lid’s Hidden Mechanisms
Start by turning the lid upside down and locating the small plastic cap or tab that provides access to the pump area and spring assembly. Gently pry it off with your fingers or a soft tool to avoid damaging it. Once removed, you’ll see the internal parts where food residue commonly collects. Use only warm soapy water and a soft toothbrush to clean these components. Harsh chemicals can damage the rubber gasket and spring, so avoid abrasive cleaners.
Carefully scrub the pump housing, spring shaft, and gasket seams to loosen dried residue. Be cautious not to oversaturate the parts; excessive moisture can cause internal corrosion. Check the locking tabs and rubber brake for trapped debris, gently removing any buildup. Regular cleaning prevents performance issues caused by buildup that can slow down or block the pump action. Keep in mind that choosing the right tool for your vegetables can help reduce the amount of fine debris that accumulates in the lid’s mechanisms. For instance, using a high-quality press like those reviewed for top garlic presses can significantly minimize the small particles that enter the lid’s hidden components. Similarly, adopting the correct removal motion used for silicone ice cube trays can prevent excess water from splashing into the lid’s springs.
Keep the cleaning frequency aligned with how often you use the lid—generally at least once a week. Reassemble all parts in the correct order, pressing clips until they click securely into place. Before using the lid again, test the pump action to ensure smooth operation.

You will receive (2) Oral-B Advanced Sensitive toothbrushes

Premium Material: Shoe cleaning brushes with EVA material bristles in the middle of the brush head, works wonderfully in removing stubborn stains
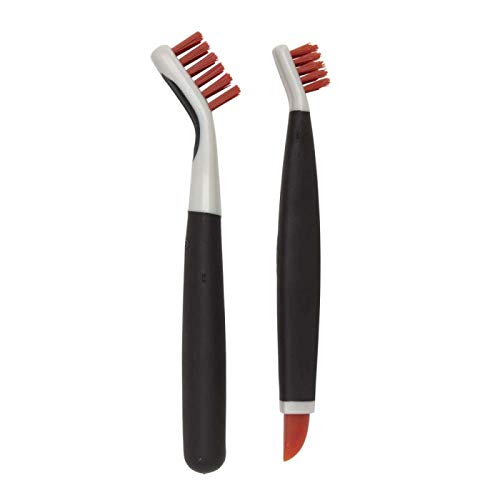
Set includes: Large Brush and Small Brush with Wiper Blade
Why Drying Your Salad Spinner Parts Matters
Drying all parts thoroughly is essential to prevent mold, mildew, and odors in your salad spinner. Moisture trapped in seams, under rims, and around seals creates ideal environments for microbial growth. Air-drying components by placing them inverted on a rack allows water to drain from hidden surfaces, ensuring complete dryness. Visual inspection is key—make sure all surfaces look dry before reassembling. Avoid stacking or reassembling damp parts, as trapped moisture can compromise sanitation and promote microbial activity. Store fully dry components in well-ventilated cabinets or drawers to prevent moisture buildup. Prolonged dampness can also cause plastic and metal parts to wear faster, with mineral spots and film developing over time. Proper drying reduces grime accumulation in textured areas and maintains smooth movement, keeping your spinner clean, safe, and ready for use without the need for re-sanitizing.
Which OXO Spinner Parts Can Go in the Dishwasher?
Most OXO salad spinner parts are dishwasher safe, but you should always check your specific model before cleaning. Typically, the outer bowl, inner basket, and lid can go on the top rack of the dishwasher to prevent heat damage. Stainless steel and glass models often specify that all components are dishwasher safe, while older versions may have different recommendations. Refer to your device’s manual or product page to confirm which parts are suitable for the dishwasher. If you need to repurpose the spinner, note that spiral potato making is one easy kitchen hack without a dedicated tool. For high-volume kitchens, exploring commercial slushie machines can be a worthwhile upgrade for frozen drink production. For securing the lid during cleaning, a tamper handle design similar to KitchenAid K400 blenders ensures a tight, stable seal.
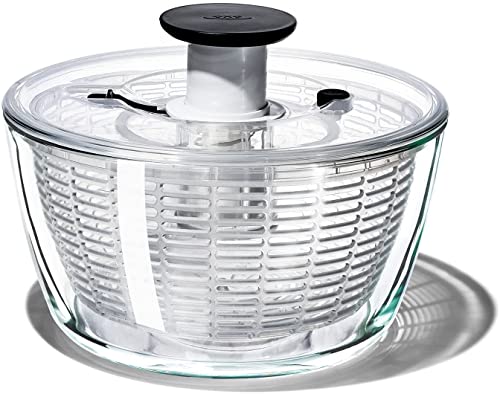
Elegant borosilicate glass bowl: Durable clear bowl is perfect for serving salads or storing greens with a modern design that looks great on any table.
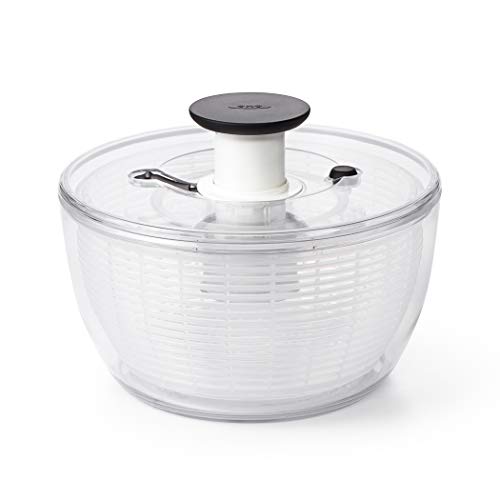
This salad spinner is to be the best that you have used.
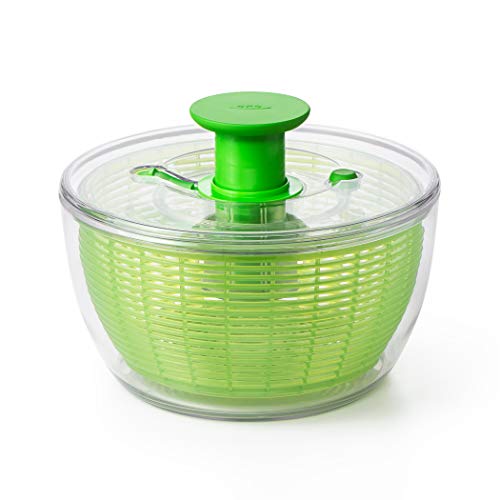
Easy one-handed operation: Spin lettuce, herbs, or fruit fast with the built-in pump—no cords or plugs.
Three Daily Habits to Stop Odor and Mold
To prevent odor and mold buildup, incorporate these three daily habits into your cleaning routine. First, rinse away all residue immediately after use. Food particles trapped in basket openings or lid edges can cause unpleasant smells quickly. Use warm water to loosen leaf fragments and grease, ensuring no debris remains. Second, make sure every part is completely dry before reassembling. Air-dry the bowl, basket, and lid separately, and use a clean towel to wipe out any crevices. Trapped moisture promotes mold growth, so thorough drying is essential. Third, clean hidden areas daily. Use a soft brush or cotton swab to reach tight gears, pump areas, and lock tabs where dirt and debris hide. For optimal food storage and kitchen organization, always store your spinner disassembled in a well-ventilated, dry spot, with the lid left off to improve airflow. To further prevent buildup, soak the lid in a diluted vinegar solution weekly to kill odor-causing bacteria.

Perfect set for giving your kitchen and appliances a Deep, detailed cleaning

Powerful Two-Brush Set to Tackle Kitchen and Bathroom Messes: Easily clean large areas and all the nooks and crannies with this two-brush set including a scrub brush and grout brush.
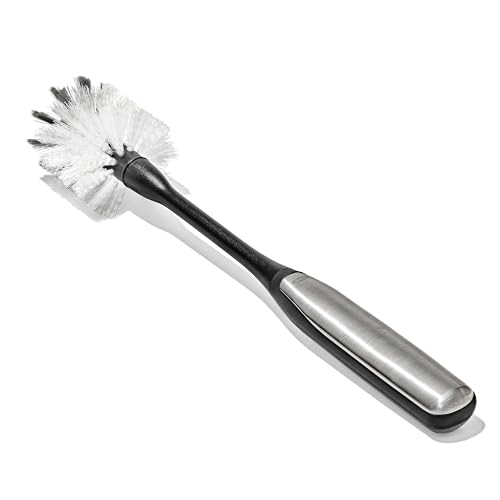
Long, durable neck flexes for easy reach inside bottles, pitchers and carafes
How Often Should You Deep-Clean Your Spinner?
Deep-clean your OXO salad spinner every 4 to 6 weeks for regular use. Adjust this schedule based on your habits; more frequent disassembly is needed if you use it daily or notice odors, sticky residue, or sluggish spinning. These are clear signs to deep-clean sooner. Even light users should aim for monthly deep-cleaning to prevent mold buildup. For a quick alternative without specialized tools, you can mash the bananas by hand using a fork, similar to the workaround in the blender-free milkshake method.
A thorough cleaning not only maintains hygiene but also improves flavor. Built-up debris can cause off tastes in your greens and other produce. To keep your spinner in top shape, ensure it is completely dry before reassembling, and store it with the lid slightly ajar to prevent trapped moisture and mold. Regular cleaning helps your spinner spin faster, last longer, and keep your produce tasting fresh. Use a gentle brush to remove residue from hard-to-reach areas, similar to cleaning a tea strainer.